Daikin BRC1E72 Installation Manual
Browse online or download Installation Manual for Remote controls Daikin BRC1E72. Daikin BRC1E72 Installation manual User Manual
- Page / 51
- Table of contents
- BOOKMARKS
- WIRED REMOTE 1
- CONTROLLER 1
- Contents 3
- Safety Considerations 4
- 4 English 6
- NOTE 6
- English 5 7
- English 7 9
- Simple Display 9
- Names and Functions 10
- English 9 11
- Basic Operation 12
- English 11 13
- English 13 15
- Operation 15
- Ventilation Mode 17
- CONTROLLED 18
- English 19 21
- Quick Reference 22
- Menu Options 24
- Airfl ow Direction 25
- Airfl ow direction swing 27
- Airfl ow direction 27
- English 27 29
- Daily Patterns 31
- English 31 33
- Off Timer 35
- Maintenance Information 37
- Display 39
- Display Mode 39
- Display Mode Standard 40
- Display Item Room 40
- Display Item 40
- Current Settings 41
- Clock & Calendar 41
- English 41 43
- The date can be set between 43
- Setting the date 45
- Maintenance 47
- Error Code: AI 49
- Contact Info 49
- 0123-456-7890 49
- Indoor Model ---/000 49
- Outdoor Model ---/000 49
- Consult your Daikin dealer 50
- 3P243520-3E EM12A023 51
Summary of Contents
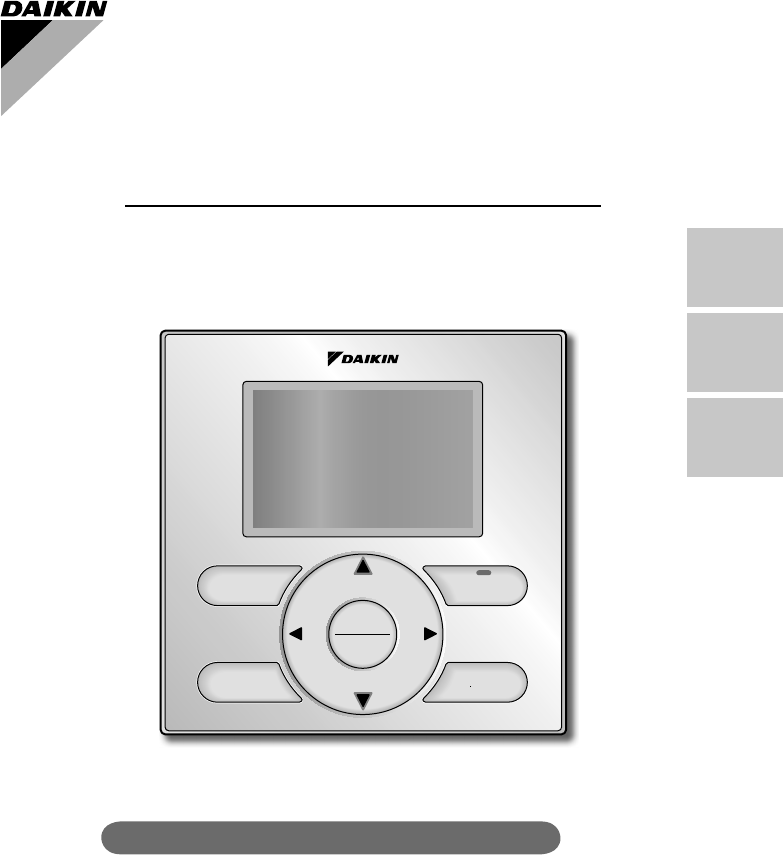
EnglishFrançaisEspañolOn/OffModeFanSpeedCancelMenuOKMODEL BRC1E72WIRED REMOTE CONTROLLER OPERATION MANUALThank you for purchasing the wired remote co
8 EnglishNames and FunctionsOperation mode1. Used to display the current operation ●mode: Cool, Heat, Vent, Fan, Dry or Auto.In Auto mode, the actua
English 9Setback “ 11. SETBACK ” (See page 14.)The setback icon fl ashes when the unit is ●turned on under the setback control.Airfl ow Direction “12.
10 EnglishBasic OperationCool/Heat/Auto/Fan Operation (SkyAir and VRV) Operation12● Display the main menu screen.(See page 22.)● Before setting the
English 11 2On/OffnuKPress ● On/Off button.The Operation lamp (green) will illuminate and the system will start operating. 3CoolReturn SettingSet to
12 EnglishBasic Operation 6On/OffnuKWhen the ● On/Off button is pressed again, the system will stop operating and the operation lamp will turn off.W
English 13Operation 1DryReturn SettingPress ● Mode button several times until the Dry mode is selected.The dry mode may not be available depending o
14 EnglishBasic OperationCharacteristic of Dry modeThe Dry mode dehumidifi es the space at reduced cooling capacity to prevent the room temperature fr
English 15Ventilation Mode When the Indoor Unit is Interlocked with Energy Recovery VentilatorPreparationFor equipment protection purposes, apply po
16 EnglishBasic OperationSetting the Cool / Heat Changeover Master(VRV only)Setting Changes See page 18 for an explanation of the cool/heat changeove
English 17 3CoolReturn SettingSet to74FPress the ● Mode button on the remote controller of the indoor unit designated as the cool/heat changeover ma
Nous vous remercions pour votre achat de la télécommande câblée. ●Ce manuel décrit les précautions de sécurité à respecter lors de ●l’utilisation du
18 EnglishBasic OperationPrecautions for Selecting the Cool / Heat Changeover Master Indoor UnitThe cool/heat changeover master must be set for a sin
English 1901_EN_3P243520-3E.indd 1901_EN_3P243520-3E.indd 19 9/11/2012 4:12:52 PM9/11/2012 4:12:52 PM
20 EnglishQuick ReferenceThe main menu has the following items. Menu item DescriptionReference pageAirfl ow DirectionUsed to confi gure airfl ow direct
English 21Menu item DescriptionReference pageConfi gurationContrast AdjustmentUsed to make LCD contrast adjustment.36DisplayUsed to set standard, deta
22 EnglishMenu OptionsMoving Within the Main Menu ScreenDisplay Method for Main Menu Operation 1CoolReturn SettingSet to 74FBasic screen Press ● Me
English 23Airfl ow DirectionConfi guring Airfl ow Direction Operation 1SettingMain MenuAirflow DirectionVentilationScheduleOff TimerCelsius / Fahrenlei
24 EnglishMenu Options 3SettingAirflow DirectionSwingUp/down direction SettingSwing Airflow DirectionLeft/right directionPressing ● buttons changes
English 25Operational Details and FunctionsThere are two types of airfl ow direction settings. Airfl ow direction swing The louvers automatically osc
26 EnglishMenu OptionsVentilationVentilation screen display properties Operation 1SettingMain MenuAirflow DirectionVentilationScheduleOff TimerCelsi
English 27 3Selecting and confi rming the desired ●ventilation rate will take you back to the basic screen.(Pressing the Cancel button takes you back
English 1NoticesSafety Considerations Items to be Strictly Observed ... 2Button Locations and Descriptions ... 4Basic O
28 EnglishMenu OptionsVentilation ModeAuto modeUsing information from the air conditioner (cool, heat, fan, and setpoint) and the energy recovery ven
English 29Daily Patterns Operation 1SettingScheduleEnable/DisableDaily PatternsSettings2/2The schedule screen will appear. ●Press ● buttons to sel
30 EnglishMenu OptionsSettings Operation 1SettingScheduleEnable/DisableDaily PatternsSettings2/2The schedule screen will appear. ●Press ● buttons
English 31 4SettingScheduleMonTime Act Cool Heat– 6:00A –– – –––:–– –– – –––:–– –– – –––:–– –– –
32 EnglishMenu Options 6SettingSave the settings?ScheduleYes NoPress ● buttons to select Yes on the confi rmation screen.Pressing the Menu/OK bu
English 33Off TimerConfi guring and Confi rming the Off Timer settings Operation 1SettingMain MenuAirflow DirectionVentilationScheduleOff TimerCelsius
34 EnglishMenu OptionsEnabling or disabling the off timerOperation 11/2SettingOff TimerEnable/DisableSettingsNavigate to the off timer screen. ●(See
English 35Maintenance InformationDisplaying the service contact and model informationOperation 1SettingMain MenuAirflow DirectionVentilationSchedul
36 EnglishMenu OptionsConfi gurationContrast Adjustment Operation 1SettingMain MenuConfigurationCurrent SettingsClock & CalendarDaylight Saving T
English 37Display Display ModeOperation 1SettingConfigurationContrast AdjustmentDisplayNavigate to the confi guration screen. ●(See page 36.)Press
2 EnglishSafety ConsiderationsRead these SAFETY CONSIDERATIONS carefully before operating the remote controller.Train the customer to operate and mai
38 EnglishMenu OptionsDisplay ItemOperation 1SettingDisplayDisplay Mode StandardDisplay Item RoomNavigate to the display screen. ●(See page 37.)P
English 39Current SettingsManipulating the current settings Operation 1SettingMain MenuConfigurationCurrent SettingsClock & CalendarDaylight Sav
40 EnglishMenu Options 2SettingClock & CalendarDate & Time12H/24H ClockPress ● buttons to select Date & Time on the clock & cale
English 41 7SettingDate & TimeYear 2013Month 10Day 7Monday 12:21PSelect ● Minute with buttons.Change the minute with buttons.Holding do
42 EnglishMenu Options12H/24H CLOCK Operation 1SettingClock & CalendarDate & Time12H/24H ClockDisplay the clock & calendar screen. ●(S
English 43Enabling or disabling Daylight Saving TimeOperation 11/2SettingDaylight Saving TimeEnable/DisableDst DatesDisplay the Daylight Saving Time
44 EnglishMenu Options 2SettingDaylight Saving TimeStart March2nd SundayEnd November1st SundaySettingDaylight Saving TimeStart March2nd SundayEnd Nov
English 45LanguageSelectable Languages Operation 1SettingMain MenuConfigurationCurrent SettingsClock & CalendarDaylight Saving TimeLanguage2/2Di
46 EnglishMaintenance 2Reset the fi lter indicator when the fi lter or ●element is cleaned or replaced.Press ● Menu/OK button.The main menu screen wi
English 47Error Code DisplayContact your Daikin dealer in the following cases Operation 1CoolSet to Error : Push Menu button74FIf an error occurs, e
English 3―― Items to be Strictly Observed――CAUTIONDo not allow children to play with the remote controller to avoid causing ●damage to the product.
48 EnglishReference InformationAfter-sale Service WarningDo not relocate or reinstall the remote controller by yourself. ●Improper installation may r
3P243520-3E EM12A023 (1209) HT00_CV_3P243520-3E.indd 300_CV_3P243520-3E.indd 3 9/12/2012 9:49:15 AM9/12/2012 9:49:15 AM
4 EnglishOn/OffModeFanSpeedCancelMenuOKButton Locations and DescriptionsFunctions other than basic operation items (i.e., On/Off, Operation Mode, Fan
English 5Operation mode selector button1. Press this button to select the operation ●mode of your preference. (See page 10.)Available modes vary wit
6 EnglishLiquid Crystal DisplayThree types of liquid crystal display (LCD) are available. The standard display is set by default. ●Detailed and Simpl
English 7 Simple Display 70F74F74FAutoCoolRoomSTANDBYSet toHeat CoolSETBACK<Simple display example>2. Fan speed3. Setpoint display1. Operatio
More documents for Remote controls Daikin BRC1E72


Related products and manuals for Remote controls Daikin BRC1E72
 (22 pages)
(20 pages)
(29 pages)
(27 pages)
(16 pages)
(13 pages)
(255 pages)
(34 pages)
(22 pages)
(20 pages)
(29 pages)
(27 pages)
(16 pages)
(13 pages)
(255 pages)
(34 pages)
 (174 pages)
(266 pages)
(174 pages)
(266 pages)
© 2020, manymanuals.com. All rights reserved. | 0.076 s |
 Manymanuals.com
 Manymanuals.de
 Manymanuals.fr
 Manymanuals.it
 Manymanuals.pl
 Manymanuals.cz
 Manymanuals.es
 Manymanuals-pt.com
Comments to this Manuals